
To manage which Autodesk Construction Cloud (ACC) projects appear in the File Explorer and your AutoCAD software, you need to go through Desktop Connector to select which projects you want to sync locally. Limiting the number of projects that are syncing to your machine helps improve computer storage and project syncing. Note: Revit will display all projects you are part of, regardless of what projects the Desktop Connector has selected.
Here's a breakdown of the process:
Verify your Desktop Connector Is Up to Date
The Desktop Connector will display a message indicating that a new update is available. This is easy to overlook, so it's important to check if an update is available.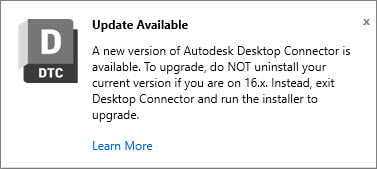
1. Expand your task tray and click the Desktop Connector icon ![]() .
.
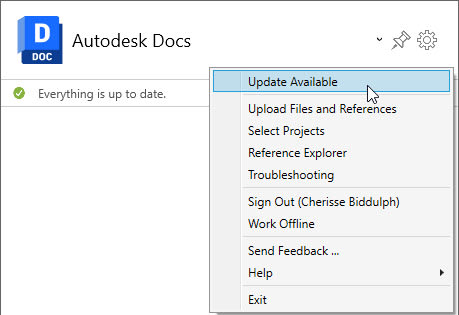
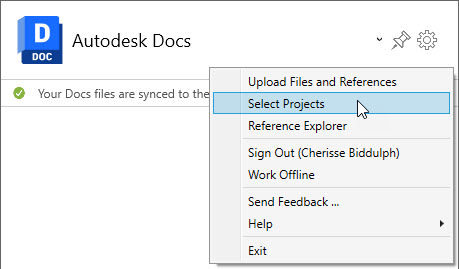
2. Click the gear Icon in the upper-right corner.
3. In the submenu, if your Desktop Connector has an update, it will display Update Available.
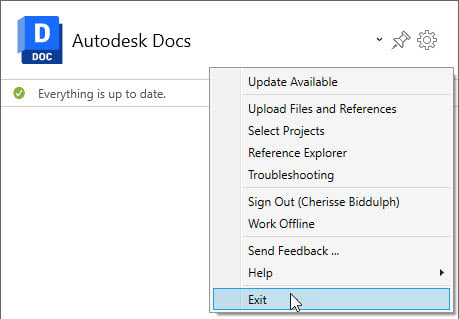
4. Close the Desktop Connector by selecting Exit. Verify the Desktop Connector icon no longer displays in the task tray.
5. On the Autodesk account website, https://manage.autodesk.com/home/ :
- Sign in to your Autodesk Account.
- Select All Products and Services.
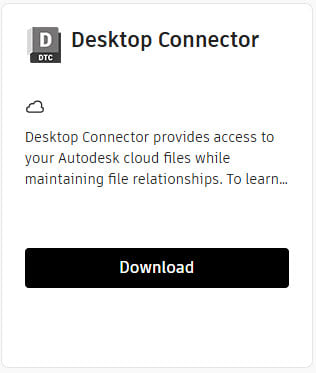
- Locate Desktop Connector in the product list and click Download.
- Double-click on the .EXE file that was downloaded to launch and run the installer, then follow the prompts.
How to Determine Which Version of Desktop Connector Is Installed
1. Expand your task tray and click the Desktop Connector icon ![]() .
.
2. Click on the gear in the upper-right corner.
3. In the submenu, select Help>About.
4. In the Autodesk Desktop Connector dialog box, the version will be in the lower left corner.
· Alternatively, you can hover your cursor over the Desktop Connector icon in the task tray, and it will give you the version that is installed.
5. Compare the version to the one listed on the Latest Release and Notes page in Autodesk Desktop Connector's help documentation to confirm you have the latest.
How to Specify Which Project You Want to Display When Opening Revit
1. With Revit closed right-click on the Desktop Connector icon from the task tray.
2. In the Submenu, click Select Projects.
3. In the Select Projects dialog box, select the projects you want to see in a file explorer and in Revit and click Save.
I hope you find this blog helpful. Visit the ASCENT website for more of my blogs and webcasts, or take a look at our Revit courseware titles.
About the Author
Follow on Linkedin More Content by Cherisse Biddulph


