
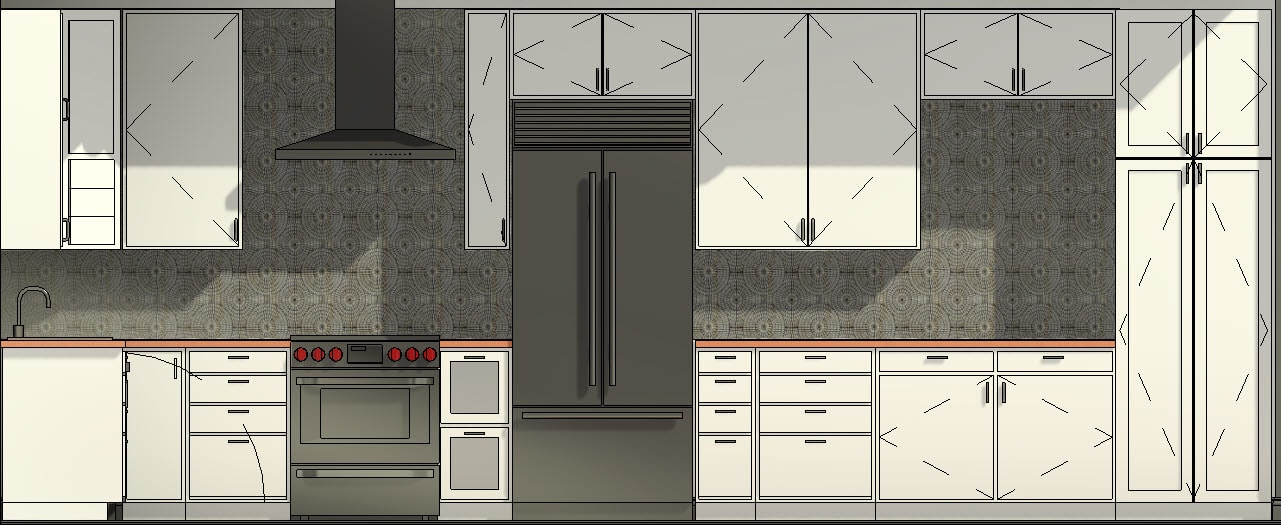
The Autodesk Revit software offers a variety of materials to choose from, but what if you can't find the one you need, or a material is close to what you need, but it’s not quite what you want? In this blog, I will guide you through creating a new material, as shown below in the kitchen backsplash mosaic tile, and cover the dos and don'ts of material creation. If you need to review the different areas of the Material Browser dialog box, reference one of my previous blogs called Getting to Know the Revit Material Browser.
Rules when creating a new material:
- It is best practice to create a custom library specific to your company so that it can be shared between users and projects. Creating new material in your company template allows users to have access to those libraries and materials when starting a new project.
- It is recommended that you find an existing material similar to what you want and create a duplicate of it, so that many of the properties and assets are already filled out.
- It is important when duplicating an existing material to review the asset tabs, particularly the Appearance, Physical, and Thermal tab information, as these tabs contain assets related to the material. If modified, these assets can impact any other material that utilizes them.
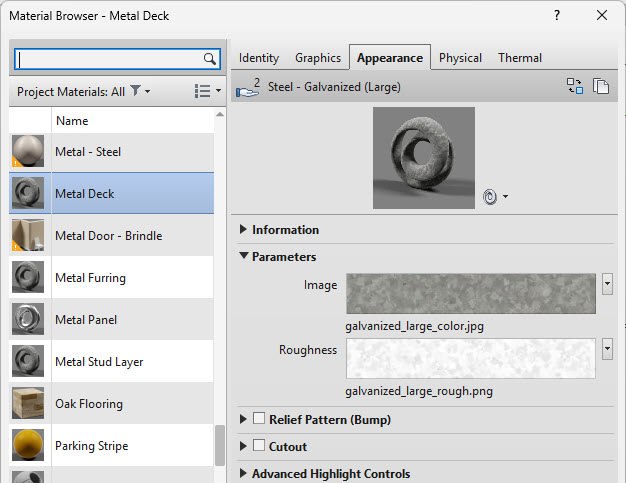
It is recommended to duplicate or replace an asset so you can further modify it without affecting any other materials. The asset of the material will indicate if it is used by another material in the Project Materials list. The number 2 on the Steel – Galvanized (Large) asset shown in the image below indicates that this asset is used by another material (in this case, the Metal Furring material).
How to Duplicate a Material
- In the Manage tab>Settings panel, click Materials.
- Select a material from the Project Materials list.
- In the Material Browser toolbar, expand Creates or duplicates a material and select Duplicate Material and Assets or Duplicate Using Shared Assets. You can also right-click on the existing material in the Project Materials list to see the same options.
- Duplicate Material and Assets will duplicate the asset and source material, and the material and asset will have a (1) at the end of the name, indicating it has been duplicated.
- Duplicate Material Using Shared Assets will share the asset and source material and does not duplicate anything. If the appearance of the material is modified, the duplicated material updates accordingly.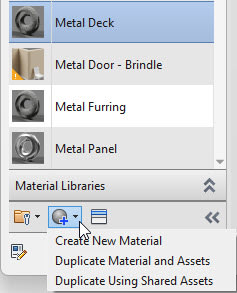
- Review and fill out the information on each of the asset tabs. On the Appearance, Physical, and Thermal tabs, review the asset and replace or duplicate it to avoid creating issues with other materials that use the asset.
- Click Apply to save the changes and continue to add additional materials.
- Click OK when you are finished.
How to Create a New Material
1. In the Manage tab>Settings panel, click Materials.
2. Select a material from the Project Materials list.
3. In the Material Browser toolbar, expand Creates or duplicates a material and select Create New Material.
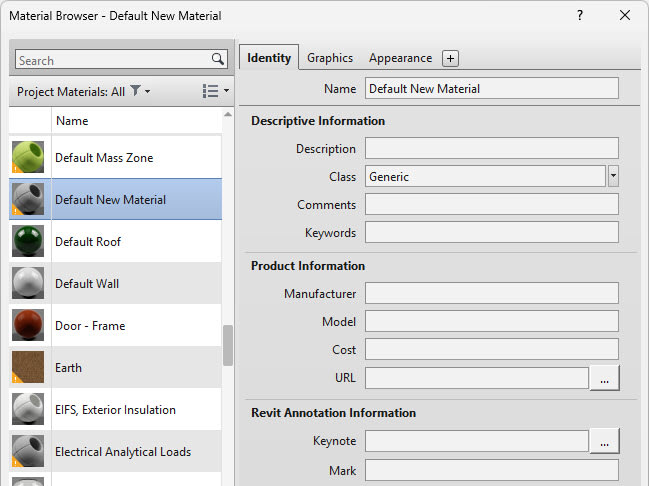
4. A new material is added to the Project Materials list and is typically named Default New Material, as shown below. Enter a new Name and fill out the other required properties and assets in the Identity, Graphics, and Appearance tabs.
- To change the name, you can also right-click on the material in the Project Materials list and select Rename.
Because you have created a new material, on the Appearance tab there will be the default generic material asset. Assets contain preset parameters that control a material’s appearance in certain views and its physical and energy analysis properties.
How to Replace an Asset for a Material
1. Verify that the new or duplicated material is selected in the Project Materials list.
2. Select the Appearance tab and click Replaces this asset, as shown below.

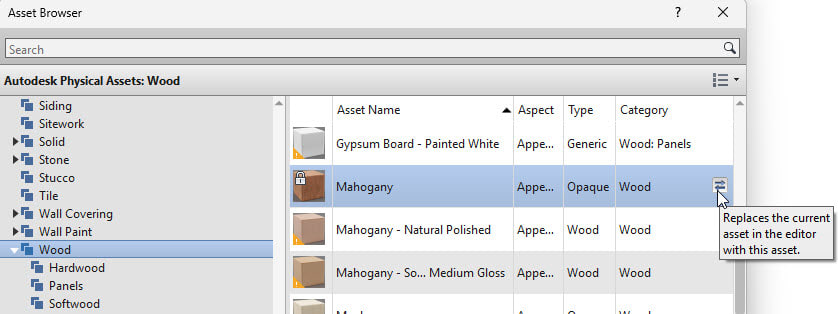
3. The Asset Browser dialog box opens. Expand Autodesk Physical Assets and select on or expand any of the materials in the list, for example Wood (as shown below).
4. When you find the material you want to use, hover your cursor over the far end of the asset and click Replaces the current asset in the editor with this asset, as shown below.
5. Close the Asset Browser dialog box by clicking the X in the upper-right corner.
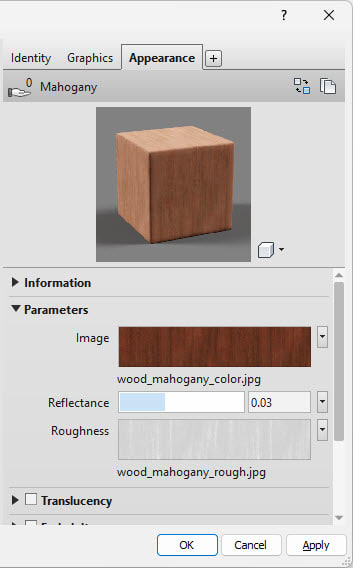
6. The asset updates in the Appearance tab, as shown below.
7. Verify the other asset tabs have the information needed and click OK to begin to use your new material in your project.
Creating custom materials in Revit may seem overwhelming at first, but once you understand how to duplicate, edit, and manage assets, the process becomes straightforward and powerful. By following best practices, such as working within a company library, reviewing asset tabs carefully, and avoiding shared asset conflicts, you can ensure that your materials are accurate, consistent, and ready to use across projects. With these tools in hand, you’ll be able to bring your vision to life and enhance the quality of your Revit models.
About the Author
Follow on Linkedin More Content by Cherisse Biddulph


