
Previously, I had shared some quick tips for navigating in Camtasia, including timeline basics – popping it out, zooming in and out, adding markers – but I didn’t dive into one of the major components of timeline. In this blog, let’s explore tracks in Camtasia and how to work with them.
What are tracks?
Tracks in Camtasia are all the layers that make up your project. You can have tracks with audio and video combined (for example, if you’ve imported a pre-existing video), or you can have separate tracks for each component. (Hint: To separate audio and video, right-click on your content in the track and select Separate Audio and Video.)
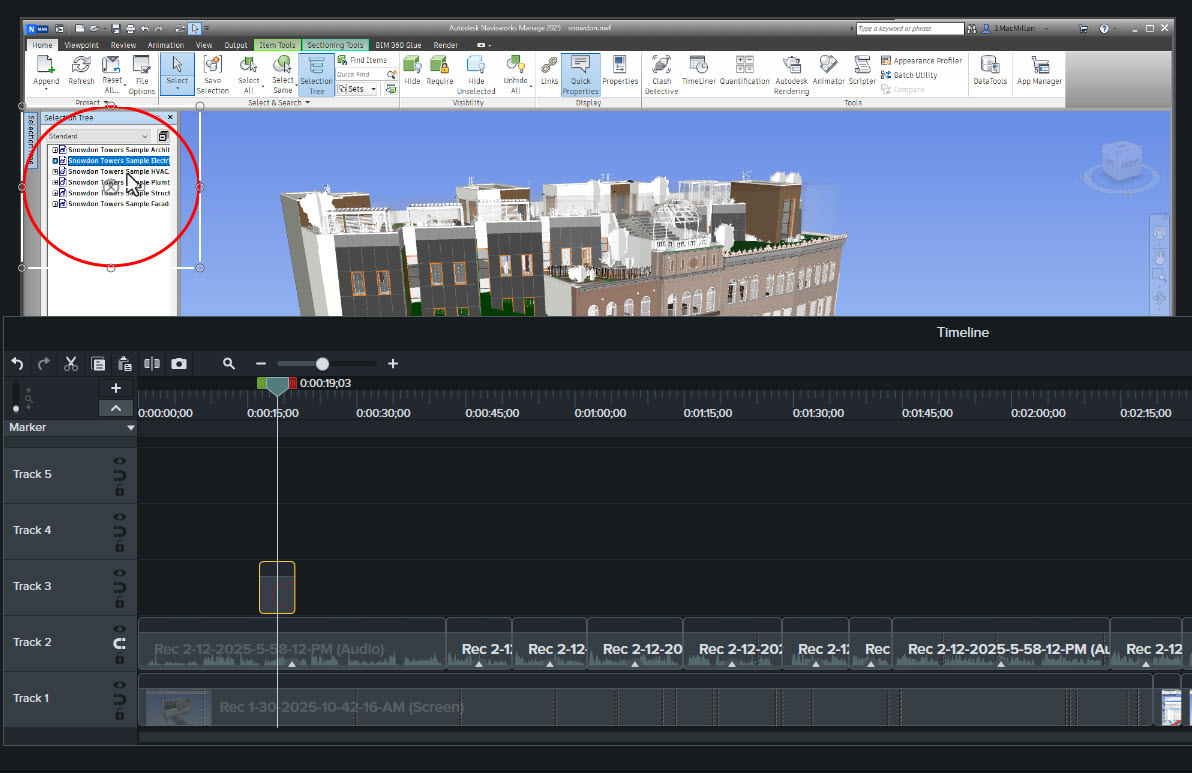
When working with tracks, keep in mind that the content placed on higher tracks will cover the content on lower tracks (for example, the callout shown below is placed on Track 3, so it appears overtop of the video on Track 1). You can rearrange tracks by dragging a track to the desired position.
Viewing tracks
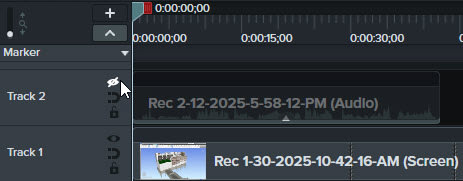
Within the timeline, you can drag the border between tracks up or down to increase or decrease the height of the track. You can also click the eye icon to enable or disable a track. If a track is disabled, you will not see its content in your canvas or in the exported video.
Working with tracks
You can add or remove tracks, as needed. If you add items to your timeline, like callouts, they will be added to an empty space on an existing track or to a new track if there isn’t an available space. It’s helpful to remove empty tracks if you know you won’t need them to clean up the timeline.
You can also lock a track by clicking on the lock icon so that it can’t be edited. This prevents changes being made to the content on the track, while still allowing it to be viewed and exported.
There is also the magnetic track option, which will remove spaces between media on a track automatically when enabled. You can still move your media around on the track, but this option will prevent any gaps from being added in between.
I hope this blog has given you a better understanding of how you can use tracks in Camtasia!
About the Author
Follow on Linkedin More Content by Breanne MacDonald


